A tape measure can explain why a waistband gaps while the hips feel snug. It is less useful as a referee deciding which shape you are allowed to be. Body shape measurements describe a few proportions at one moment; they leave out posture, garment construction and the way you like clothes to sit. Take them to answer a practical question, such as which trouser size to try or where a dress needs more room, and you can stop before the search for an exact label takes over.
Choose the clothing question before picking up the tape
Write down the item that is giving you trouble. A skirt that turns as you walk raises a different question from a shirt that pulls across the upper back. For the skirt, waist and hip measurements are a useful start. For the shirt, bust circumference alone will not describe shoulder width, upper-arm room or the position of the armholes. Measuring everything at once can produce a long list without explaining the problem.
For broad body-shape comparisons, people often record bust, waist and full hip circumference. Some systems also ask for shoulders, but that word needs clarification: a measurement around the shoulders is different from the distance across the back. Follow the method specified by the particular chart. Feeding a width into a calculator expecting a circumference makes the result meaningless even if the number was carefully taken.
I would keep the shopping question at the top of the page: “Do these trousers have enough room through the seat?” is much easier to act on than “Am I definitely a pear?” You can use a broad shape description without treating it as a permanent identity. Clothing is the part you are trying to adjust.
Measure once carefully, then repeat under the same conditions
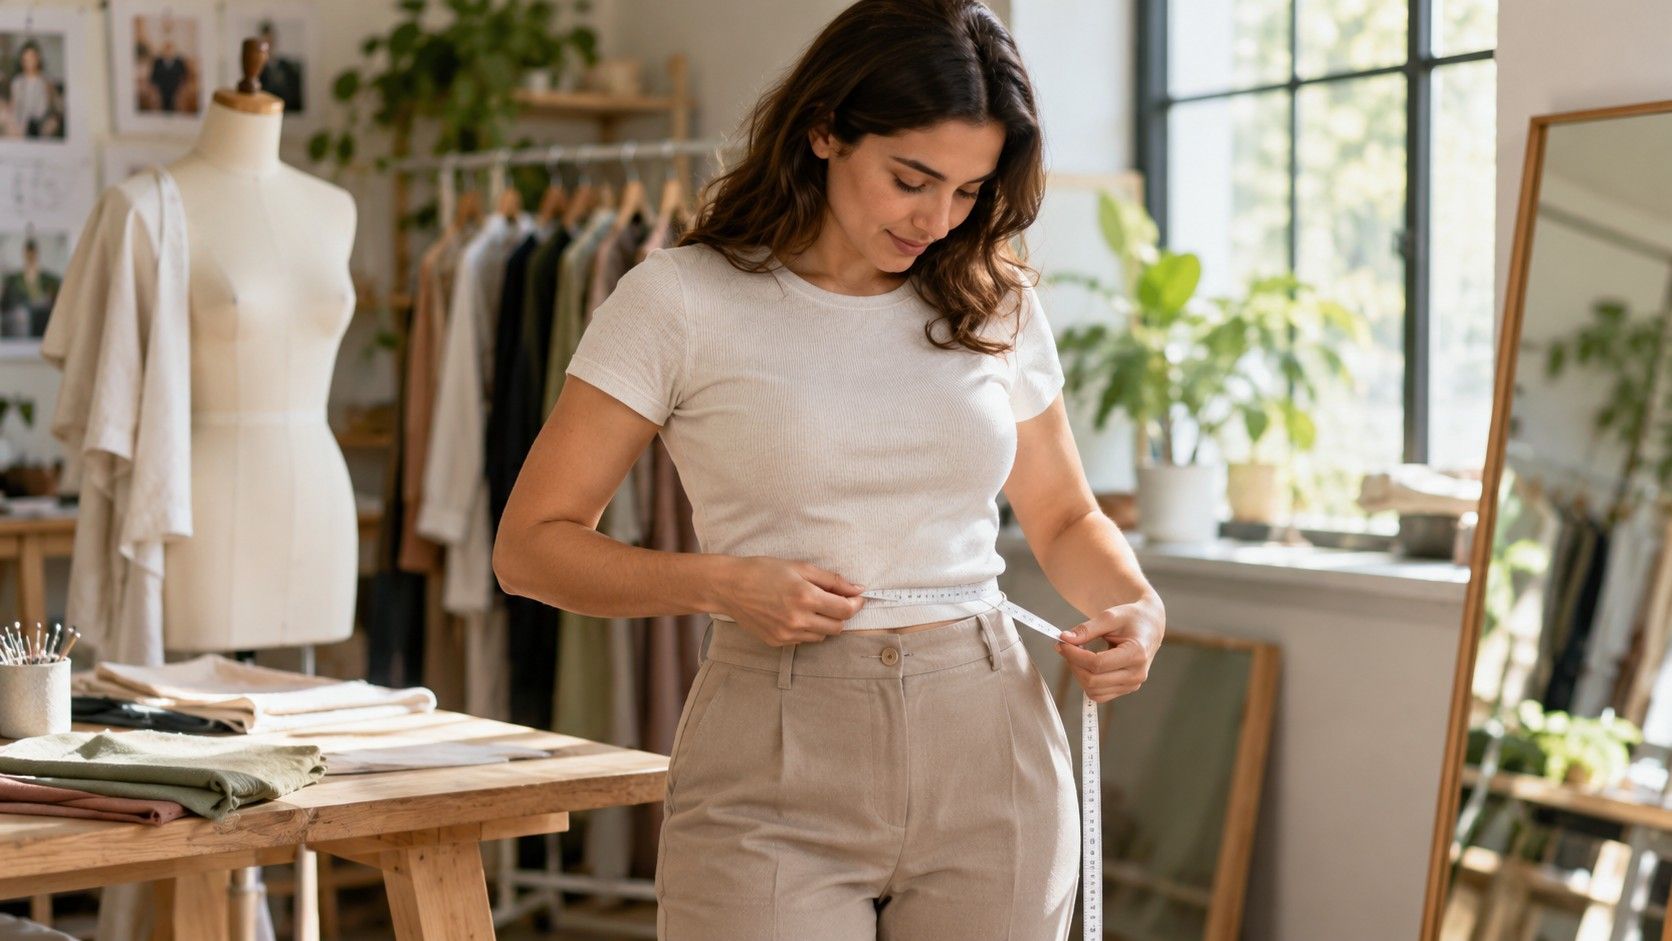
Use a flexible measuring tape that has not stretched, a mirror and a place to note the figures. Thin underwear or close-fitting clothing makes the tape easier to position. If you usually wear a particular bra with the garment you are buying, use that bra for the bust measurement. A padded or differently shaped bra can change the outline the garment must fit.
Stand in your usual relaxed posture, with your weight shared comfortably between both feet. Keep the tape flat rather than twisted and let it touch without digging in. Check the back in a mirror: a tape that slopes upwards can produce a different number from a level one. There is no benefit in pulling the waist smaller or holding an unusually deep breath. You need room to live in the clothes.
Take each reading twice, removing and replacing the tape between attempts. If the numbers disagree, inspect the tape position instead of averaging immediately. Note centimetres or inches clearly and use the same units as the size chart. Repeating the process on another day is sensible if a result seems odd, but small changes do not require a new body-shape investigation.
Find the landmarks that the size chart actually uses
The full bust is measured around the fullest part of the bust, with the tape level around the back. The natural waist is commonly taken at the narrower area of the torso, though some bodies have no obvious indentation. A gentle side bend can help you locate a crease; then return to a normal stance before reading. If a retailer gives a different waist definition, follow its instructions and label that measurement separately.
The full hip usually means the fullest circumference around the seat and hips, not the upper edge of the hip bones. Move the tape slightly up and down to find that level, keeping it horizontal. For sewing or a difficult trouser fit, a separate high-hip measurement may also help. Do not swap the two because the shorter route around the upper hips feels easier to reach.
| Measurement | Position check | Useful clothing decision |
|---|---|---|
| Full bust | Tape level across the fullest area | Room in woven tops and dresses |
| Natural waist | Relaxed torso, consistent landmark | Fitted waistbands and waist seams |
| Full hip | Fullest seat and hip circumference | Skirts, trousers and dress lower halves |
| Garment length | Measure from the stated starting point | Where a hem or waist seam will land |
Length deserves its own note. Two people with the same bust, waist and hip figures may need very different torso and trouser lengths. If a dress waist sits too high, changing a shape category will not move its seam. Compare shoulder-to-waist length or the retailer’s garment length before buying a second size.
Compare your figures with the right kind of chart
A body size chart describes the wearer the brand intends to fit. A finished garment chart describes the clothing itself. Those numbers should not automatically match. A woven shirt normally needs ease so you can breathe and move; a stretch knit may be designed to measure smaller than the body. The amount depends on the style, fabric and intended fit, so there is no single allowance to add to every purchase.
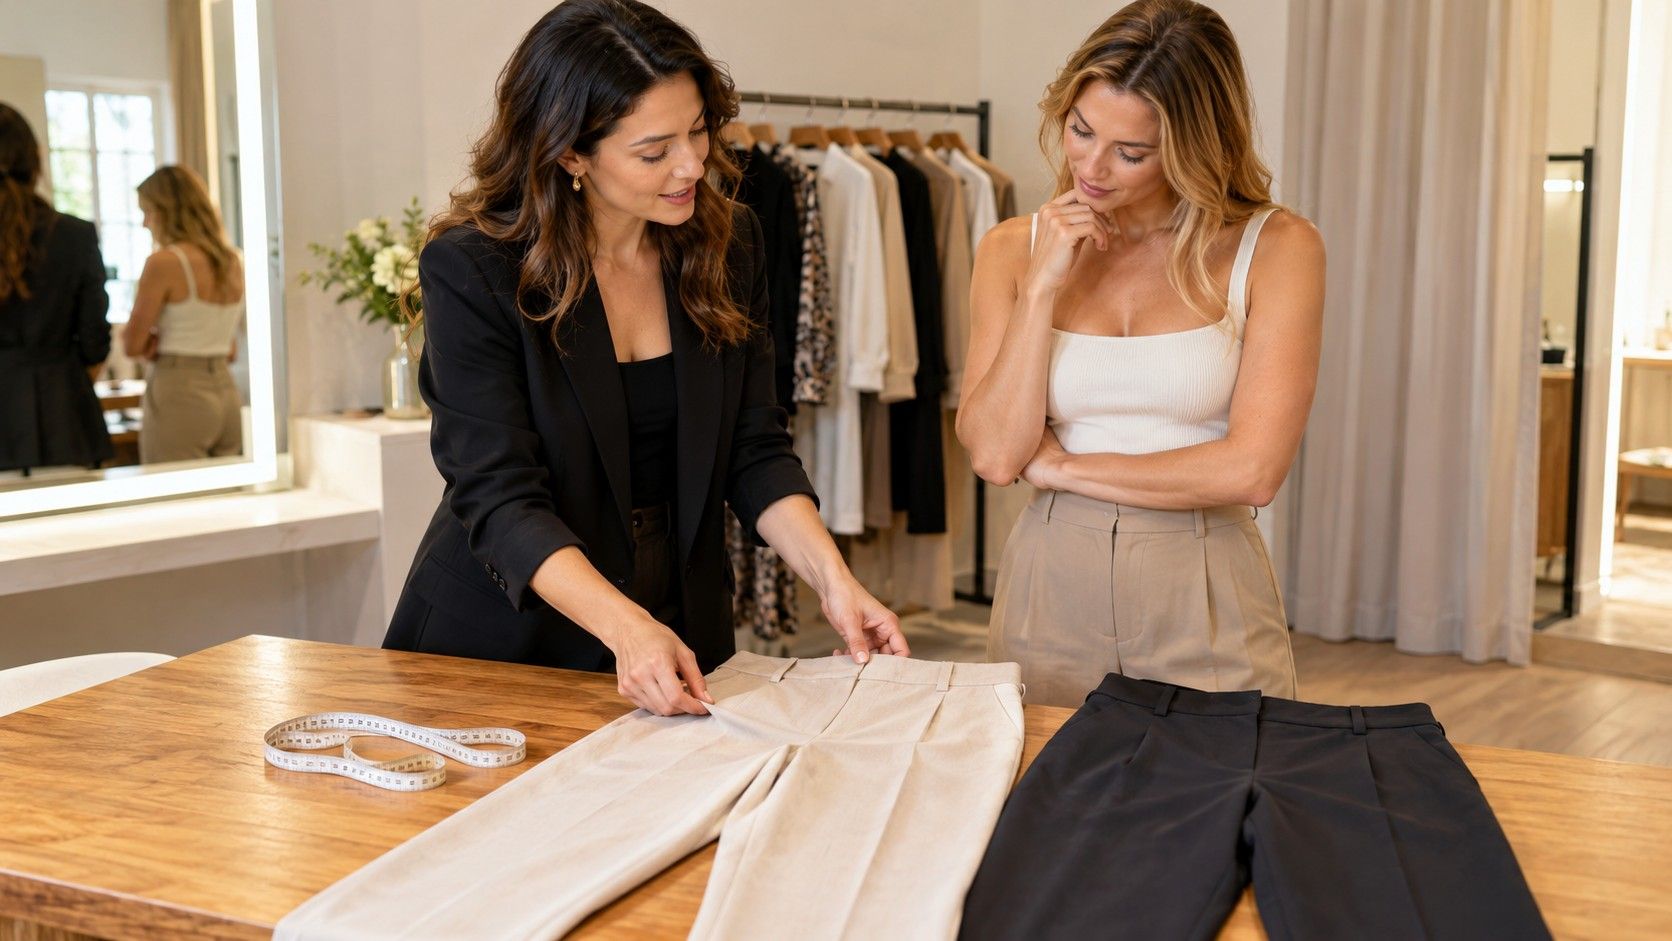
Suppose your hips fall in one size column and your waist in the column below. For fitted non-stretch trousers, the hip and seat may determine the first size to try, with a waist alteration considered afterwards. That is a starting point, not a promise that tailoring will be simple. Pocket placement, the rise and the waistband construction can make an alteration expensive or impractical.
A favourite garment offers another comparison. Lay it flat without stretching it and measure at the same points used by the listing. A flat waist width is only half the circumference when the garment is laid evenly; an elastic waist also needs a relaxed-versus-stretched distinction. Compare like with like, and remember that identical widths in rigid denim and soft jersey will not feel identical.
Use the fitting room to test what the tape leaves out
Try the garment with the underwear and shoes you expect to wear with it. Sit down, reach forward and walk a few steps. A waistband that feels fine while standing may press when seated; a blouse can look smooth until you reach towards a desk. These checks provide information that a calculator cannot extract from three circumferences.
Look for specific behaviour before judging the whole outfit. Pockets that flare, a hem that climbs at one side or diagonal tension lines can suggest the garment needs a different cut or more room, but they are clues rather than a diagnosis. Fabric grain, pressing and construction also affect how a piece hangs. If you cannot identify the cause, comparing a neighbouring size is more useful than blaming your proportions.
Take a straight-on photograph only if it helps you remember the comparison. Keep the camera at a similar height and distance for both outfits. A close wide-angle photograph can exaggerate whatever is nearest to the lens. The mirror, the photograph and the feeling of moving in the garment are three pieces of evidence; none needs to overrule your comfort.
Keep a short fit record that you will actually use
Save the date, units, landmarks and the reason for measuring. Add practical observations beside the figures: “rigid waist needs more room when seated,” “regular-length torso feels short,” or “this brand’s curved waistband sits well.” Such notes are more useful during a sale than a screenshot with a shape label and no explanation of how it was calculated.
You do not need to measure before every shopping trip. Update the record when fit has noticeably changed or when a new project requires it. There is also no obligation to store photographs or send measurements to an online service. A note kept on your own device can do the job if privacy matters to you.
If your numbers sit between common body-shape categories, leave them there. Use both descriptions as browsing terms and choose by the garment’s behaviour. A pair of trousers that sits comfortably through the hips, stays in place at the waist and lets you sit down has already answered the important question. The label can remain undecided.